Overview #
An Apsona Grid displays records in a tabular, Excel-like form. The grid displays records from a single object, but you can pull in fields from the current object or any parent object. You can also create subgrids with any child object. From the created grid, you can do inline and mass updates, as well as take action on your records. Let’s create a grid today!
Installation #
Install the Grids add-on from this link.
Creating our first grid #
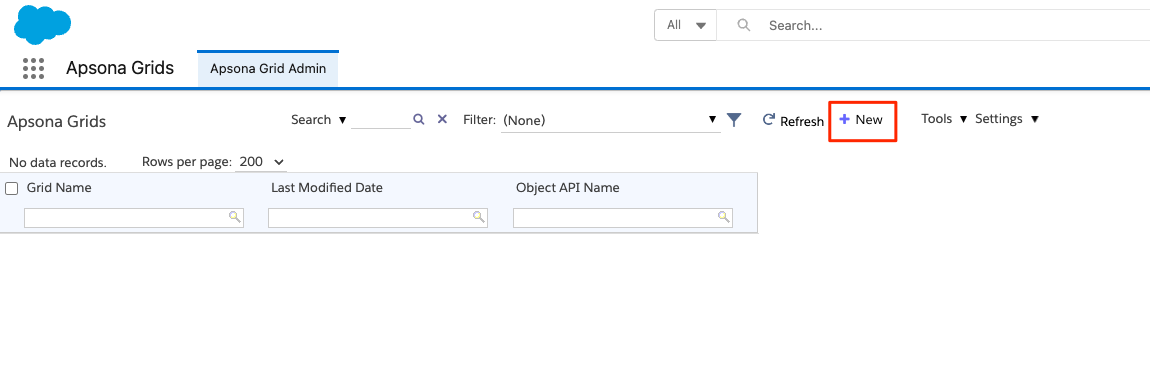
We’ll start by going to the Apsona Grid Admin tab. The Apsona Grid Admin tab is just a console view of all your grids. To create a new grid, just click the New button at the top of the screen:
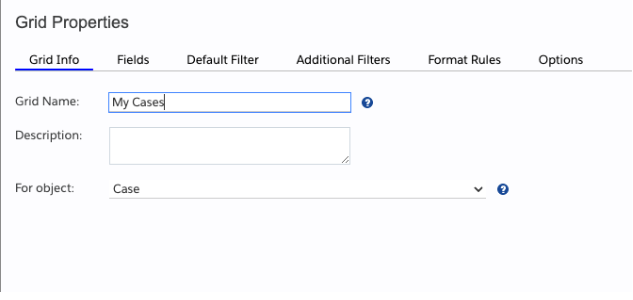
You’re now in the Grid Editor view. There’s a few things we need to put in here to create our first grid:
- The name of the grid we want to create, and the object that it’s for:
- Click on Fields at the top of the editor. We’ll drag and drop some fields from the Available side to the Selected side.
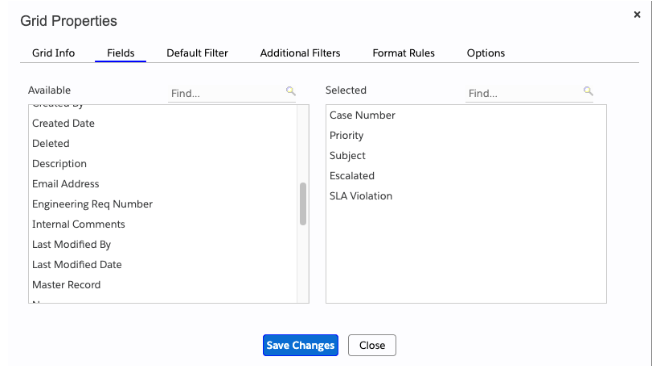
- Click Save Changes.
Now you’re back to the console view of your Grids. If you find the grid you just created in the left sidebar and click on it, you should see a little icon for a direct link in the detail view section:
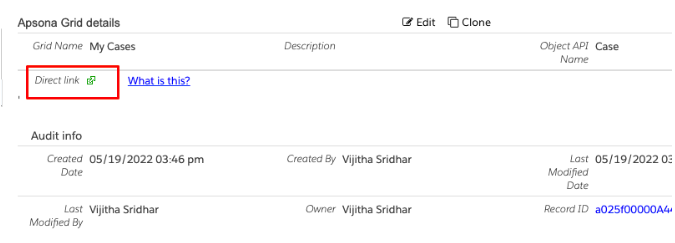
We click that link, and the grid we just created shows up. This is what the grid will look like to any users who are using it once it’s deployed. So now we’ve successfully made our first grid!
Refining our grid: Filtering #
We might want to limit the number of records in some way in our grid – maybe we just want all Cases that are owned by us.
So now we go back to our grid in the Apsona Grid Admin tab, and click the Edit button. Then we click the Default Filter tab. Here, we can set up a filter just like in regular Apsona to display Cases we own, based on our user ID:
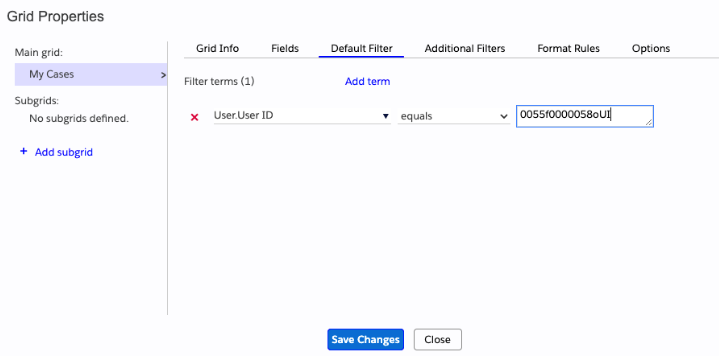
Reload the grid direct link, and you’ll see your records immediately restricted.
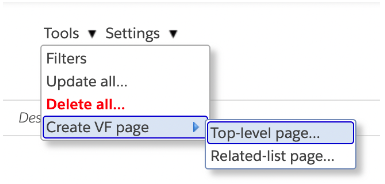
Deploying the grid #
Finally, we’ll deploy the grid into a Visualforce page that can be accessed by other users with a Grids license. All we have to do for this is go to Tools – Create VF page in the Apsona Grid Admin tab:
For now, we’ll select Top-level page. This will create a page that can be accessed directly from the menu bar. We’ll provide a name for the page and select the grid we just created, to be put into a tab with a label we choose:
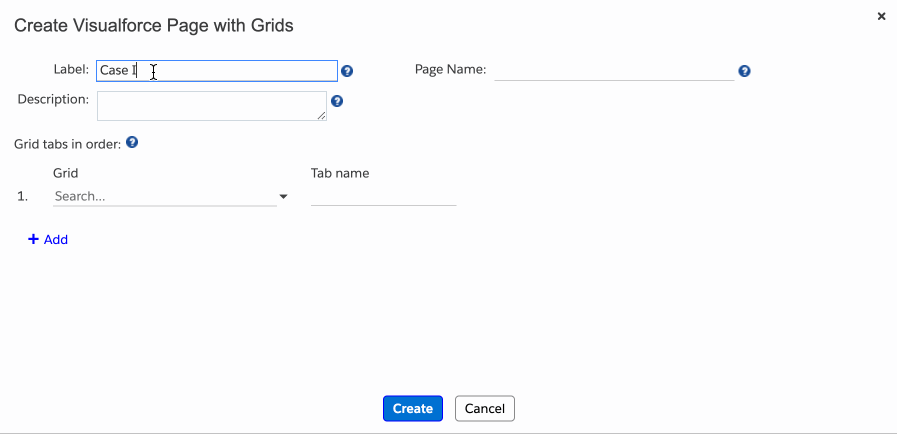
We click Create, and we can then click on the Go to page link to access the Visualforce page directly:
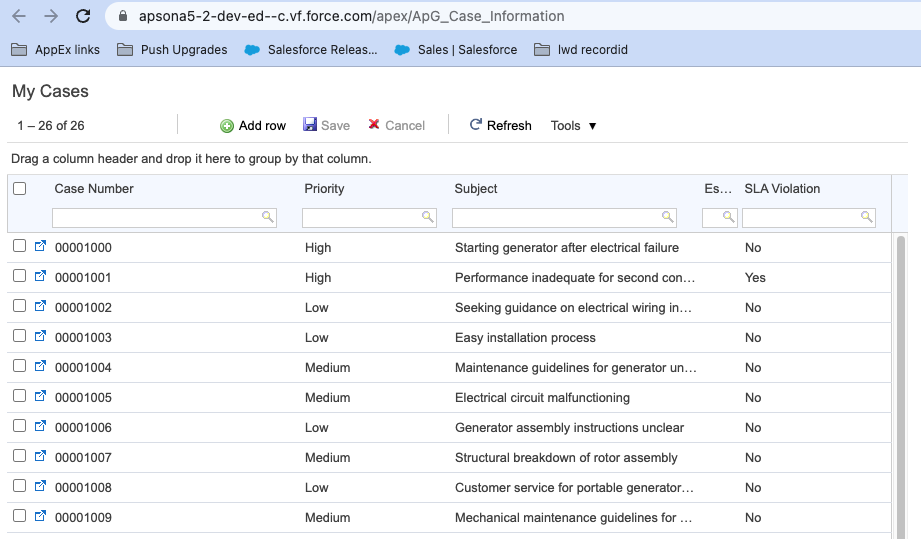
That’s our grid, fully deployed and ready to go! From here, we can create a Tab for the Visualforce page, and have others access our new grid!
… and more! #
For information about format rules, additional filters, subgrids, and more things you can do with Apsona Grids, click here.